Czkawka (a deduper), SD imaging workflow, Advanced Renamer, and the working directory
Preserving family memories is important, especially when the data spans decades. I recently embarked on a project to recover and safely archive over 20 years of photos and videos from my family's old SD cards - 17 of them! I also set out with the vision of distributing the data to each family member via cloud and duplicate MDISC Blu-ray discs, so I'm documenting the process here.
Later on I will be digitizing VHS tapes and printed photos, but for now, I'm focusing on the SD cards and digital media. I hope this series helps you preserve your family's legacy!
Prerequisites:
- An SSD with ample working space for ripping, extracting, and sorting
- ddrescue for imaging, or any other forensic imaging tool
- Czkawka for de-duplication
- Advanced Renamer for batch renaming/moving files
- Cloud storage for distribution, also crowd-sourced captions and notes
- An MDISC-certified Blu-ray burner and media for archival
Step 1: Preparing and Inspecting SD Cards
Before diving into data recovery, I practiced something I've learned from handling sensitive media. I thoroughly inspected each card's gold contacts and then cleaned them gently with a Q-tip and isopropyl alcohol. This step ensures that grime doesn't make its way into the reader.
This is also a good time to inspect the cards for physical damage. For instance, one of our oldest SD cards had damaged plastic guides near the contacts; inserting it directly could have permanently damaged my reader port. Always inspect before connecting!
Step 2: Imaging the SD Cards
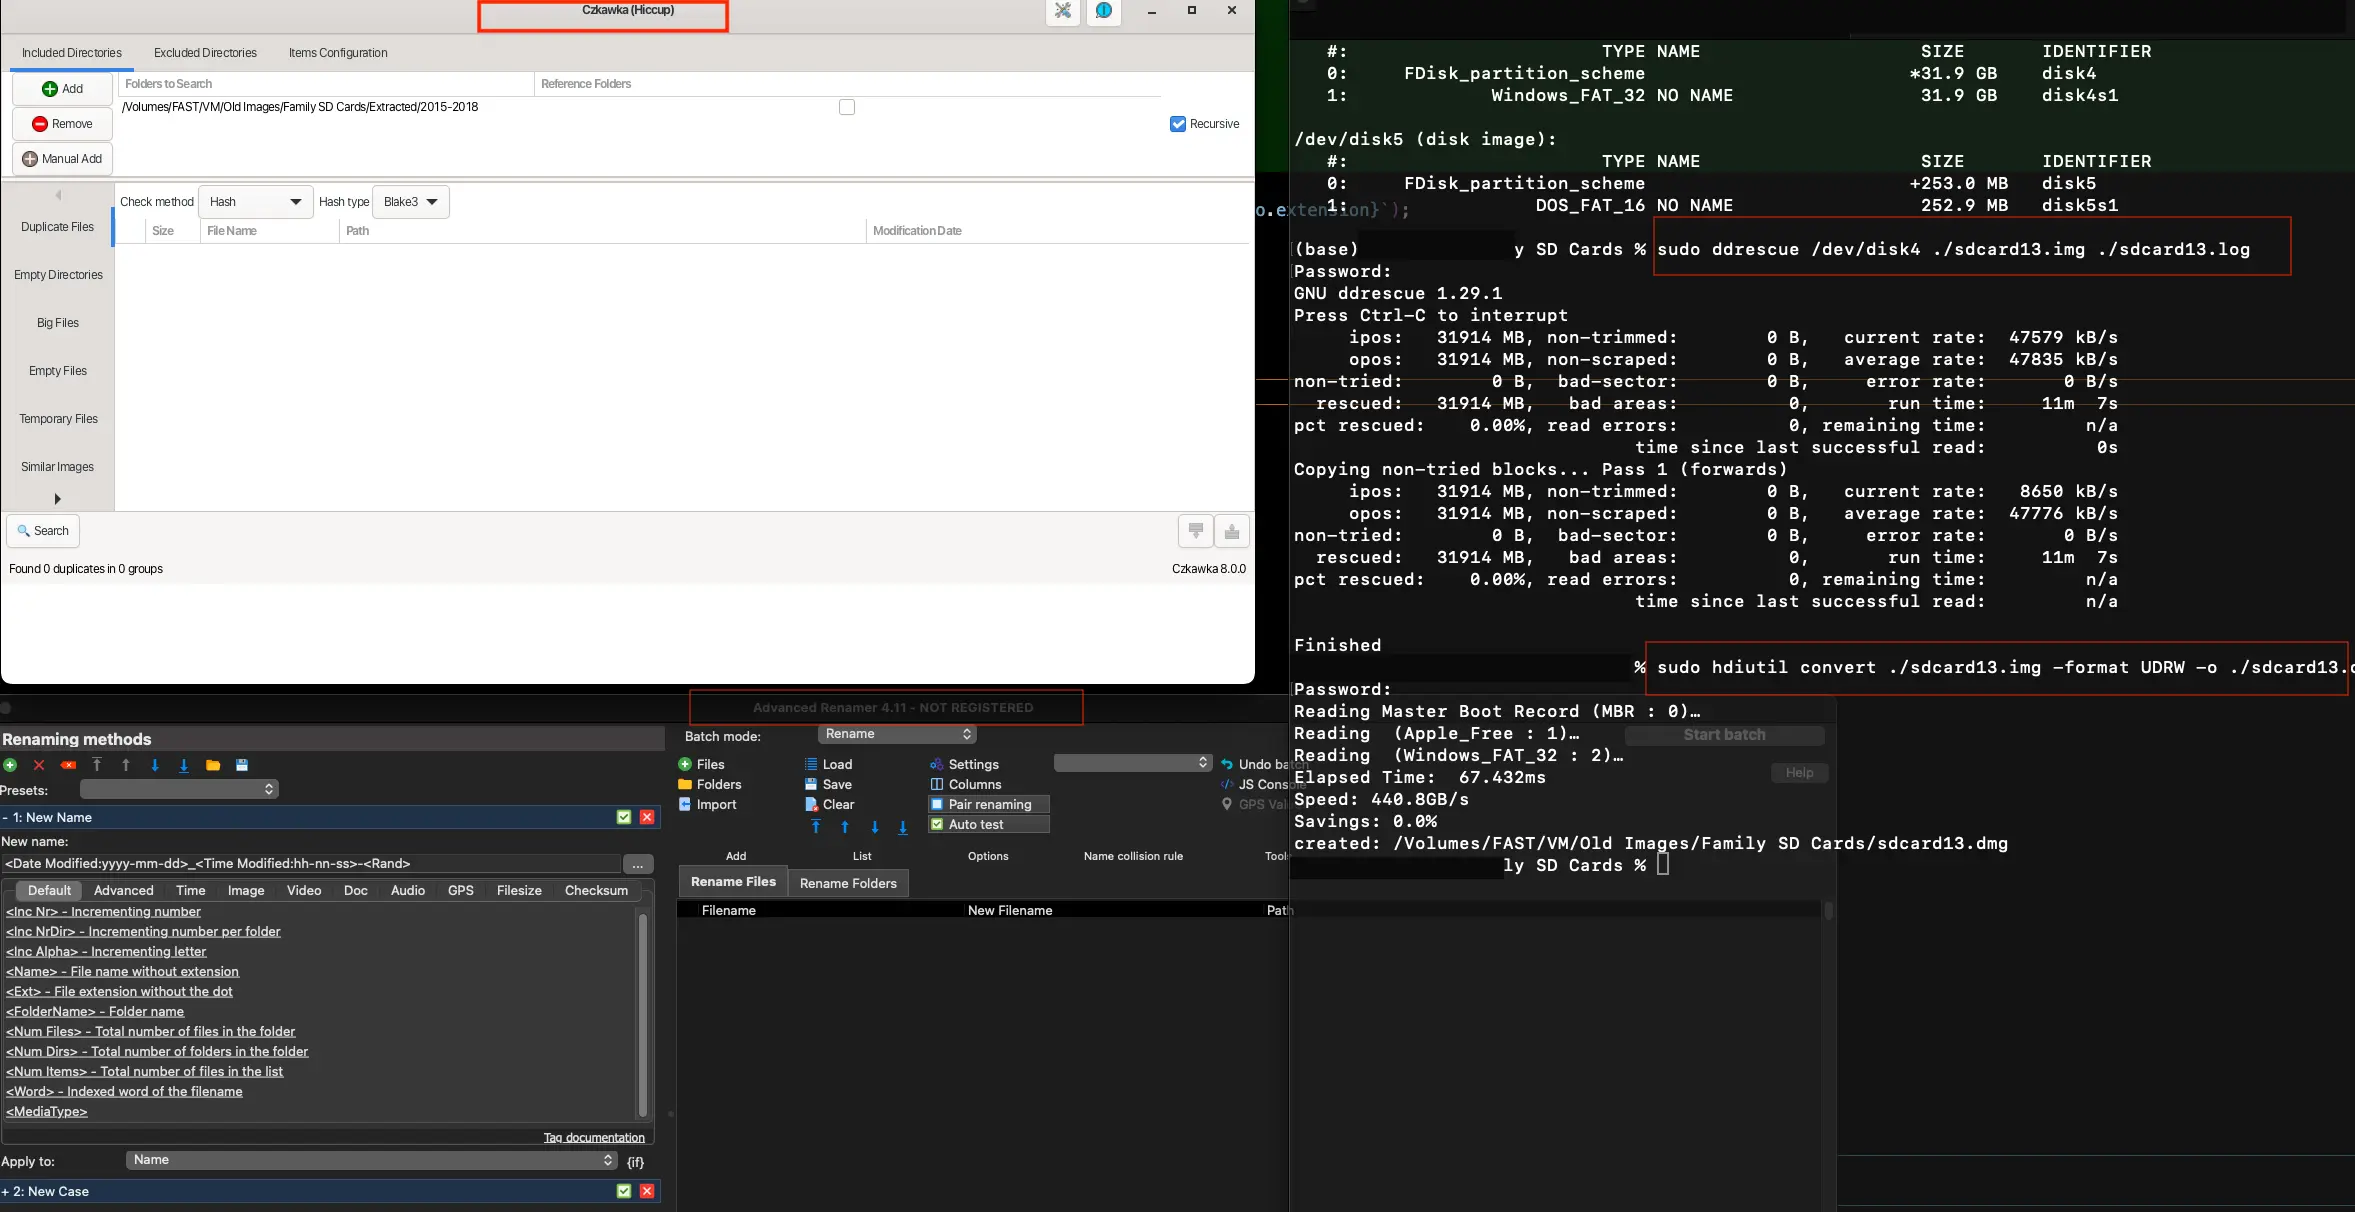
Flip those write-lock switches, we're imaging! Using macOS (or any Unix/Linux system) gives you access to powerful imaging tools like ddrescue.
Each SD card was imaged forensic-style (including the hashes), first into .img files and then converted to .dmg since we're an Apple family. These disk images provide exact backups, safeguarding against any original media degradation.
**TIP: **From the manual, we read "Never try to rescue a r/w mounted partition!" This means mount the drive, list disks to get the location e.g. /dev/disk4, unmount it, and then run ddrescue with the correct device.
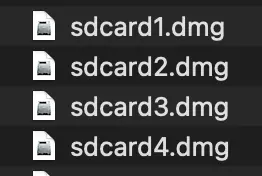
After each successful rip, I labelled both the sdcard and the image with an ID number
Step 3: Organizing and Renaming Files
I extracted all useful contents from each .dmg into a folder labeled "Extracted." This folder is the base copy of all data before sorting.
To safely rename and sort the files without altering their original metadata, I cloned the "Extracted" folder into a "Sortme" folder.

Using Advanced Renamer on the "Sortme" folder, each file was given a human-readable timestamp derived from the file's metadata and appended with random numbers to avoid duplicates. The EXIF data remained intact throughout the process.

An example of the naming scheme I used.
All renamed files were then moved into a flattened directory called "Sorted." Sorting by name naturally organized them chronologically.
Weird video files: Quite a few video files were in non-standard formats, which would prevent them from playing in the browser. I'm experimenting with conversion to MP4, without loss of quality, after which I'll add them to "Sorted" and then to the cloud.
Step 4: De-duplication and Similar Image Detection
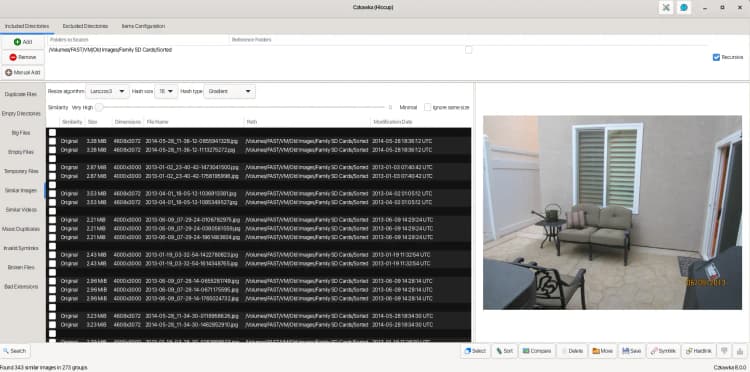
Over years of copying and backing up, duplicates are inevitable, especially when my dad is the main photographer! I used Czkawka, an image de-duplicator, which quickly identified redundant copies, freeing up some storage.
A further manual review of the Sorted folder revealed different versions of the same videos, so I kept the base version and deleted the rest. 5 gigs saved!
I also ran Czkawka's similarity checks to detect near-identical images, but nothing was found. In my experience, you get hits on photos that were edited or touched up with this, rather than something like speed-shot photos in sequence.
Step 5: Documenting Provenance and Hashes
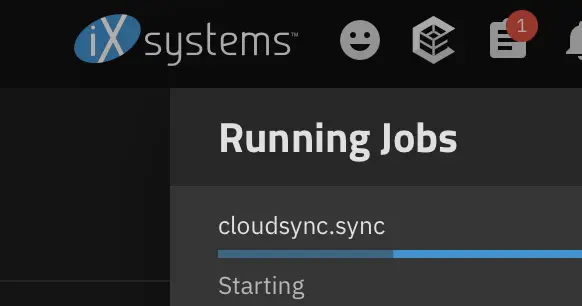
Alright! Now I'm syncing the data to Google Drive for family collaboration.
The overarching goal here is a 500 year archive saved to MDISC Blu-rays, and that means whoever views this data will probably have no background info on our family.
It also means that a flat, chronological directory structure is best, so I made a quick script to generate identically-named sidecar .txt files containing hashes for each image. The text files ensure each photo's integrity and provide a stable, structured format for family members to add personal notes and context.
These provenance files are not able to be edited directly in Google Drive, but they will get copied as .gdoc files with the same name when edited for easy family collaboration. Of course, I will have to later convert them to the plain text files on my NAS before archival.
Current Status and Next Steps
My fam is contributing, filling out information and captions in cloud!
Just kidding, I'm doing it.
I'm encouraging family members to "simply open" the text file following each photo/video in Gdocs in order to add notes in a structured format, but it seems like they'd rather use the comment feature. This is a good compromise I suppose, but I'll have to extract the notes and add them to the .txt files on my NAS before archival... I'm thinking a VLLM will be able to do this.
Soon, I'll move this enriched data back to the NAS, verify everything meticulously, and burn everything for permanent archival. I'm thinking of calling the first disc "Volume 2: The Digital Age." That's because the other disc will be "Volume 1: The Analog Age." ;)
Each person will receive a 100GB copy per volume, preserving our family's digital legacy securely and permanently. 3-2-1 backups and all that.
Next up: digitizing VHS tapes and printed photos!
Stay tuned for Part 2!